# Best Keycap Profile for Typing Speed: A Practical Guide
The best keycap profile for typing speed is the one that lets you keep high accuracy with low finger travel and low fatigue across long sessions. For most typists, Cherry or OEM profiles are the safest starting point because they balance sculpted guidance with predictable reach. Low-profile sets can feel faster for short bursts, while taller uniform sets often trade speed for comfort or sound preference.
If you want real gains, test profiles with the same keyboard, same switch type, and the same typing test routine for at least one week. Median WPM and median accuracy matter more than single best runs.

# What keycap profile changes in typing performance
A keycap profile defines key height, row shape, top surface angle, and overall sculpt. These details affect how your fingers land and recover between keystrokes.
Keycap profile influences four measurable areas:
- Finger travel distance between nearby keys.
- Landing consistency when your fingers return to home row.
- Error recovery speed after a mistyped letter.
- Fatigue accumulation during tests longer than one minute.
Profile does not replace typing technique. It changes how much friction your technique meets.
For keyboard geometry background, check:
- Mechanical keyboard profile reference: https://www.keycaps.info (opens new window)
- HID input architecture on Windows: https://learn.microsoft.com/en-us/windows/win32/inputdev/about-keyboard-input (opens new window)
- Human factors guidance for workstation setup: https://www.osha.gov/etools/computer-workstations (opens new window)
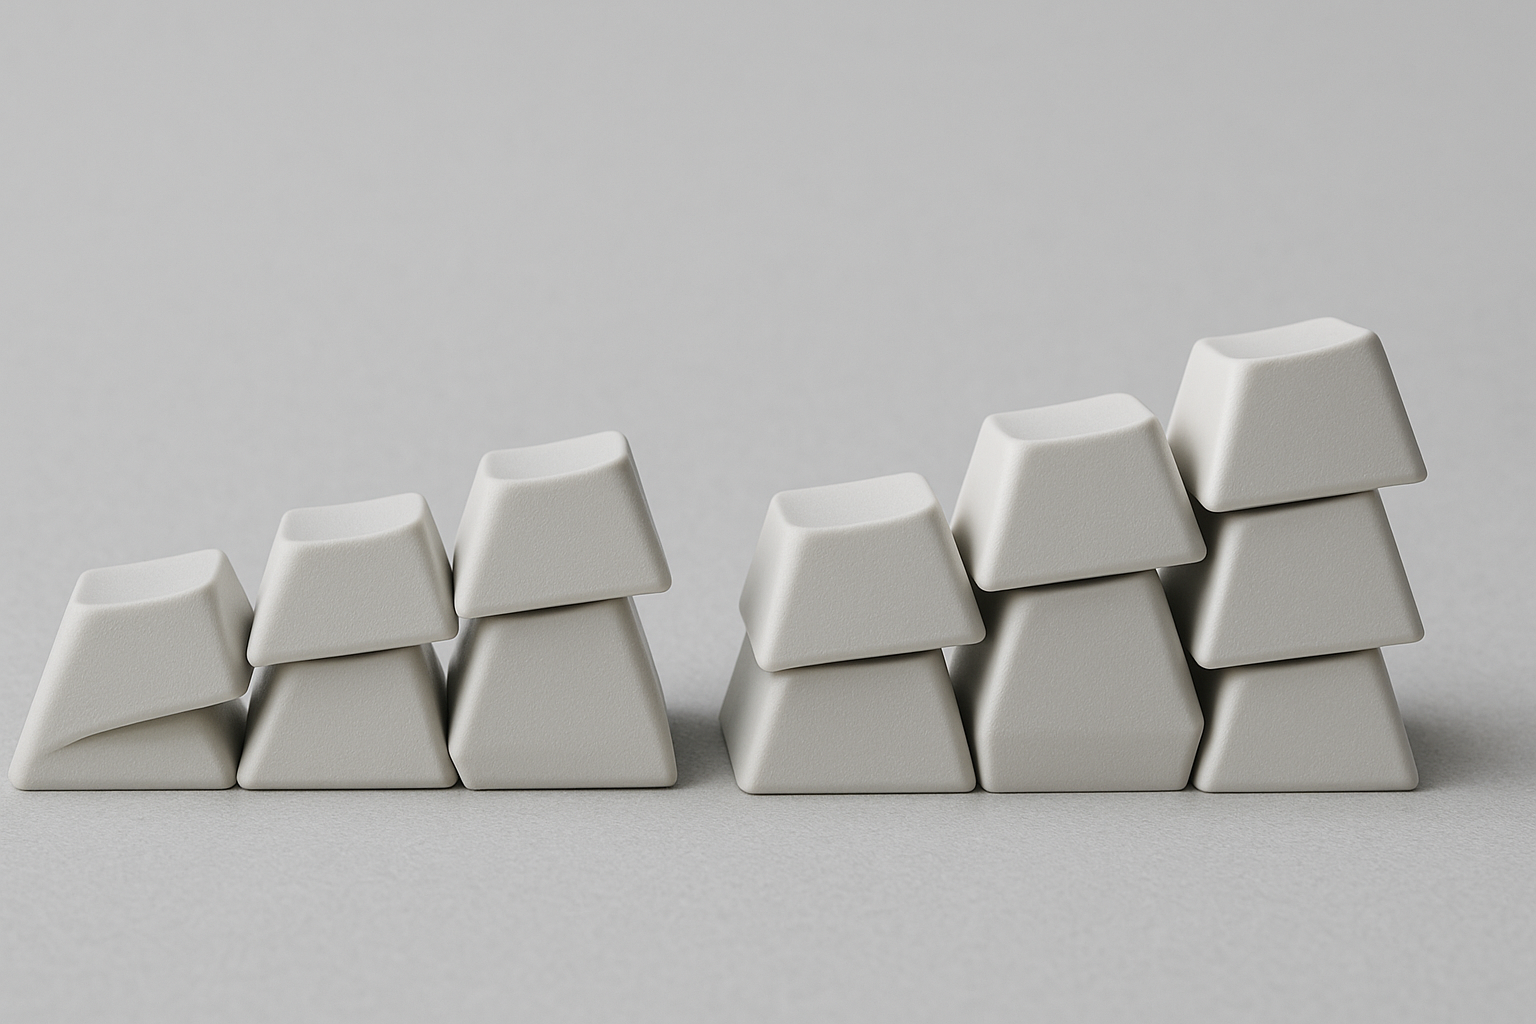
# The main keycap profiles and how they feel at speed
The fastest profile is not universal. Each profile shifts your trade offs.
# OEM profile
OEM is common on prebuilt mechanical keyboards. Rows are sculpted and medium-high. Many typists adapt quickly because OEM appears in default kits and office environments.
Typical performance pattern:
- Good baseline speed.
- Stable accuracy for mixed skill levels.
- Moderate fatigue in long sessions.
OEM works well if you want reliability and easy replacement options.
# Cherry profile
Cherry is slightly shorter than OEM with a lower top height and familiar sculpt. Many experienced typists report smoother rhythm and cleaner row transitions, especially on dense text.
Typical performance pattern:
- Strong balance of speed and control.
- Often lower finger lift than OEM.
- Usually better comfort for longer sessions.
Cherry is often the best first upgrade if you currently use stock OEM keycaps.
# SA profile
SA is tall and heavily sculpted with a deeper key dish. It can feel premium and satisfying for deliberate typing but usually increases movement cost.
Typical performance pattern:
- Lower peak speed for many users.
- High stability once adapted.
- More hand and finger effort over time.
SA can still fit users who prioritize feel and sound over leaderboard speed.
# XDA and DSA (uniform profiles)
Uniform profiles keep all rows at equal height and angle. This can simplify layout swaps and custom mappings, but home row orientation cues are weaker.
Typical performance pattern:
- Adaptation period can be longer.
- Error rate can rise early, then stabilize.
- Speed can match sculpted sets after training for some users.
Uniform profiles reward consistent touch typists who do not rely on row sculpt feedback.
# Low-profile keycaps
Low-profile sets reduce overall keyboard height and keycap depth. On compatible boards, they can reduce vertical finger movement and support fast bursts.
Typical performance pattern:
- Quick response feel.
- Strong short-test speed for some users.
- Mixed long-session comfort depending on wrist angle and board design.
Low-profile setups work best when the whole keyboard is built for that geometry, not only the keycaps.
# Decision table: choosing a profile by your typing goal
Use this table to narrow your first test candidate.
| Goal | Current accuracy | Session length | Recommended first profile | Why |
|---|---|---|---|---|
| Raise baseline WPM without losing control | 95 to 98% | 30 to 90 sec tests | Cherry | Lower height with strong row guidance |
| Keep stable office performance | 94 to 98% | Mixed | OEM | Familiar geometry, low adaptation cost |
| Improve comfort in long writing blocks | 96 to 99% | 10 to 60 min | Cherry or low-profile | Lower lift can reduce repeated motion strain |
| Customize layers and alternate layouts | 95 to 99% | Mixed | XDA or DSA | Uniform rows simplify remapping |
| Prioritize sound and tactile character | 95 to 99% | Mixed | SA | Deep acoustics and distinct key dish |
The table picks a starting point. Final choice still depends on measured results in your own setup.
# Common mistakes when testing keycap profiles
Many profile comparisons fail because too many variables change at once. Keep the test clean.
# Mistake 1: changing switches and keycaps together
If you change both, you cannot isolate profile impact. Keep switch type, spring weight, and lubrication state the same.
# Mistake 2: comparing different keyboards
Different mounting styles and case stiffness change typing feel. Use one board for all profile tests when possible.
# Mistake 3: judging from one short session
Day one can be noisy. Use at least three sessions per profile before concluding anything.
# Mistake 4: chasing peak WPM only
A profile that gives one high score but unstable accuracy can slow real work. Track medians and variance.
# Mistake 5: ignoring posture while changing profile
Lower keycaps can alter wrist angle demands. Recheck desk and chair position after each profile swap.
If you need setup foundations first, these guides help:
- Typing Wrist Angles: Optimizing Comfort and Speed
- Typing Finger Placement: Master the Foundation
- Typing Muscle Memory: Train Your Fingers
# A one-week keycap profile test protocol
This protocol gives enough data to choose a profile with confidence.
# Day 0: prepare a controlled baseline
- Pick one typing test format and keep it constant.
- Lock keyboard angle and desk height.
- Disable noisy background tasks.
- Record your current keycap profile as baseline.
Run 10 tests and capture:
- WPM
- Accuracy
- Corrected errors (if available)
- One short note on comfort
# Days 1 to 3: profile A
Install your first candidate profile. Run 5 tests per day at similar times.
Focus on two indicators:
- Median WPM trend
- Accuracy stability above your baseline floor
# Days 4 to 6: profile B
Swap to second candidate. Repeat the same run count and timing.
Keep everything else fixed. Do not change switches, plate foam, desk position, or browser.
# Day 7: endurance check
Run one longer session of normal writing work, then one timed typing test block.
Assess:
- Finger fatigue after 20 minutes
- Error recovery speed
- Whether rhythm breaks under fatigue
The winner is the profile with better median performance and lower strain.
# Practical compatibility notes before you buy
Profile choice is not only about feel. Hardware compatibility matters.
# Stabilizer and switch clearance
Tall profiles can have interference on some compact layouts, especially near unusual key clusters. Check kit compatibility charts before buying.
# Row sculpt and non standard layouts
Sculpted sets need correct row mapping. If your layout uses split spacebars or uncommon key sizes, verify row kits include those caps.
# Material and thickness
ABS versus PBT and wall thickness can change sound and perceived impact feel. That changes confidence during fast bursts even when profile stays constant.
# Legend visibility
If legends are hard to read in your lighting, glance corrections can slow you. This matters more for hybrid touch typists.
For broader setup comparisons, see:
- Typing Speed Across Different Keyboard Sizes
- Typing Speed Comparison: Laptop vs Mechanical
- Keyboard Switch Types: Sound and Feel Comparison
# Checklist: are you ready to switch keycap profile

- [ ] I can keep the same keyboard and switch set during testing.
- [ ] I will compare medians across at least 15 tests per profile.
- [ ] I have a baseline accuracy target to protect.
- [ ] I can run one endurance session before deciding.
- [ ] I checked layout compatibility for my key sizes.
- [ ] I adjusted wrist angle after changing cap height.
If you check at least four items, your comparison is likely to produce useful results.
# What most typists should do first
If you want one practical default path, use this sequence:
- Start with Cherry profile if your board supports standard MX keycaps.
- Test against your current OEM or stock set for one week.
- Keep the set only if median WPM rises and accuracy remains stable.
- If comfort is still weak, test a low-profile board setup next.
This sequence controls cost and avoids random gear changes.
For many users, the best improvement stack is:
- stable profile choice,
- deliberate typing drills,
- posture fixes,
- and periodic performance checks.
That stack consistently beats frequent hardware swaps.
# Conclusion
Keycap profile can affect typing speed, but the effect appears through accuracy, movement efficiency, and fatigue tolerance. Cherry and OEM profiles are usually the most reliable starting points for speed-focused users. Uniform and tall profiles can still perform well when they match your technique and workload.
Choose with data. Run a controlled week-long test, compare medians, and keep the profile that stays fast when you are tired, not only when you are fresh.