# Keyboard Speed Test Benchmark: Measure Real Gains Without Biased Results
A keyboard speed test can show real performance changes, but only when you control for warm up, text difficulty, and adaptation effects. If you want trustworthy results, benchmark one hardware variable at a time, compare medians instead of peak runs, and validate gains in real writing blocks. This method helps you decide whether a keyboard change improved output or only changed how a short test feels.
# What a keyboard speed test benchmark should answer
Most typing tests answer one narrow question: how fast you typed one passage under one setup. A benchmark should answer a stronger question: did this keyboard setup improve usable typing output over repeated sessions.
That difference matters because short runs are noisy. You can gain a few WPM from favorable text, then lose more time in real work due to correction overhead. A clean benchmark keeps the decision tied to outcomes that transfer.
Define your benchmark target before you begin:
- Primary outcome: median WPM over repeated runs.
- Quality outcome: median accuracy and correction rate.
- Transfer outcome: performance during a real writing block.
- Stability outcome: day to day variance.
If one keyboard wins on top speed but loses on correction cost, it does not win the benchmark.
# Why many keyboard speed test comparisons fail
Most invalid comparisons break one of three rules: they change too many variables, they overfit to a favorite test mode, or they compare best run to best run.
Common failure patterns:
- Changing switch type and keycap profile in the same session.
- Testing one keyboard in the morning and another late at night.
- Comparing only 30 second sprint scores.
- Ignoring adaptation time for a new layout or key feel.
- Declaring victory from one screenshot.
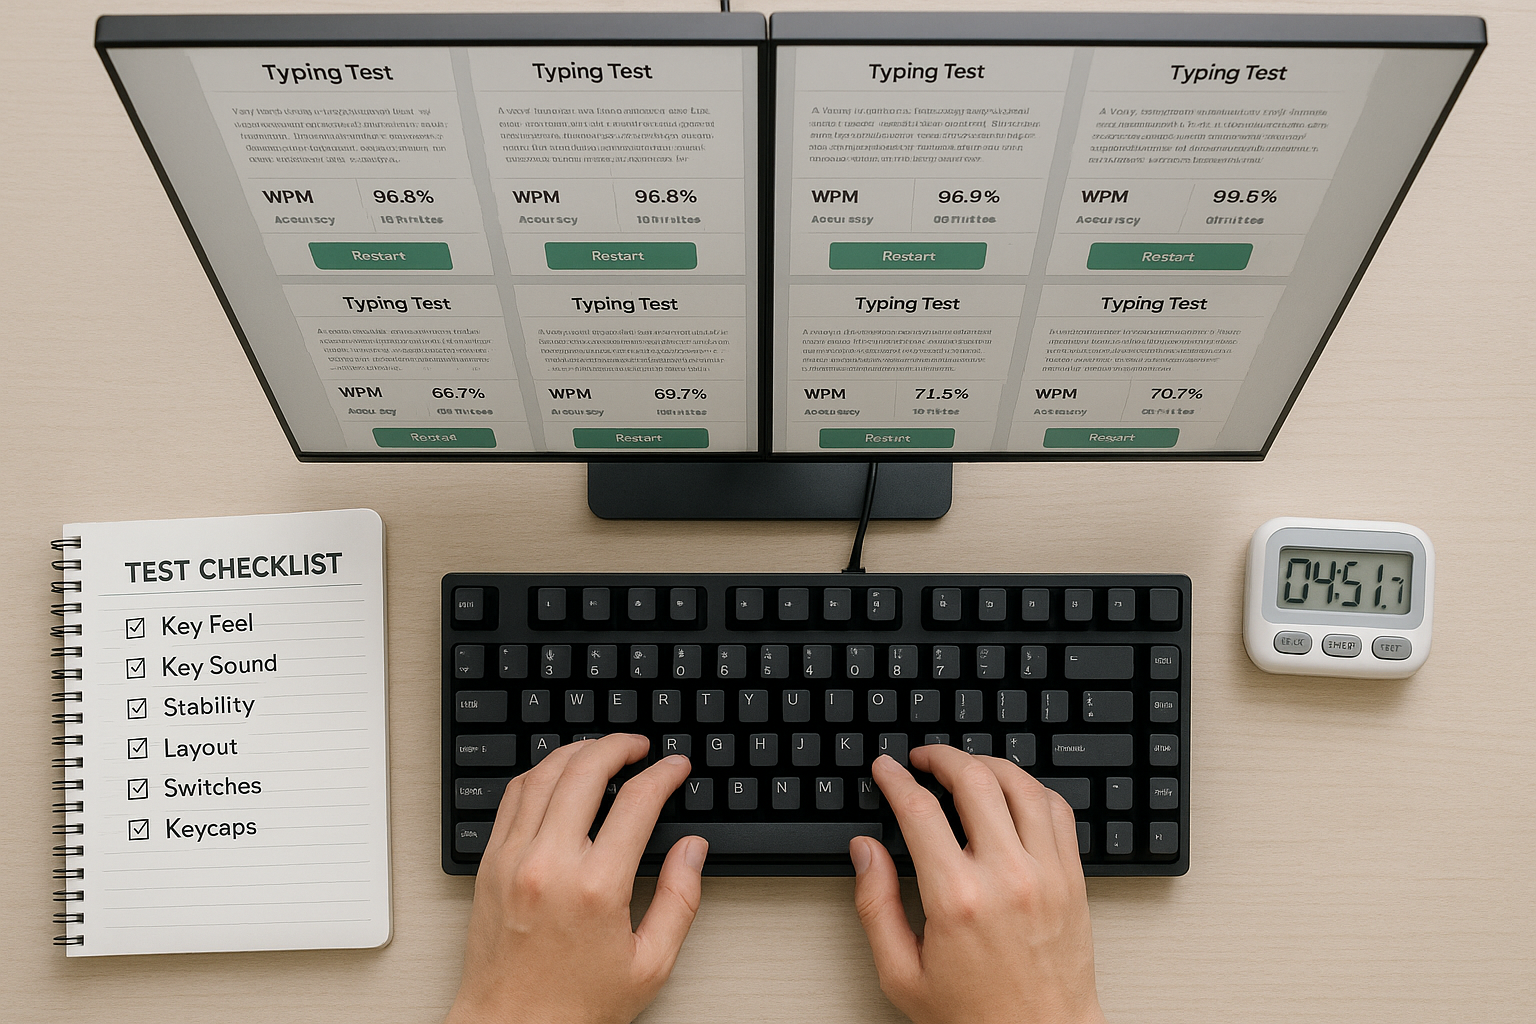
A useful benchmark behaves more like a small experiment. You keep settings stable, collect enough samples, and evaluate central tendency with spread.
For keyboard input and latency background:
- https://www.usb.org/hid (opens new window)
- https://docs.qmk.fm/features/debounce_type (opens new window)
- https://learn.microsoft.com/en-us/windows/win32/inputdev/about-keyboard-input (opens new window)
# Decision table: choose the right keyboard speed test protocol
Use one protocol for at least seven days. If you switch protocol midweek, your trend becomes weak.
| Benchmark goal | Test format | Session design | Primary metric | Pass criteria |
|---|---|---|---|---|
| Compare two keyboards for daily writing | 120 second fixed text runs | 6 runs per keyboard across 3 days | Median WPM | +2 WPM with no accuracy drop |
| Evaluate latency related tweaks | 60 second mixed text runs | Alternating ABAB blocks | Median corrected WPM | Better corrected WPM on both days |
| Check comfort versus speed trade off | 180 second runs plus writing block | 4 timed runs plus 20 minute writing | Transfer words produced | Equal speed with lower fatigue notes |
| Validate advanced setup for fast typist | 30 second plus 120 second pair | 5 short and 3 long runs per setup | Combined rank score | Wins in long run accuracy and short run speed |
| Prepare for hiring style test | Match expected test duration | 8 practice runs and 4 scored runs | P25 WPM and accuracy | Stable lower quartile score above target |
A single protocol removes argument by memory. You can inspect the log and make the call quickly.
# Build a benchmark that separates hardware from adaptation
When you move to a different board, key travel and force curve change motor timing. Early runs often include adaptation noise, so immediate comparisons are biased.
Use this phased structure.
# Phase 1: baseline capture
- Keep your current keyboard and full desk setup unchanged.
- Run 12 to 18 timed tests over two to three days.
- Record WPM, accuracy, and corrected errors.
- Add one short note for comfort and finger strain.
# Phase 2: adaptation window
- Switch to the candidate keyboard.
- Do two light sessions that are not scored.
- Keep the same test mode and duration as baseline.
- Avoid final conclusions during this window.
# Phase 3: scored comparison
- Collect the same run count as baseline.
- Alternate session order when testing two boards on one day.
- Use the same time windows each day.
- Compare medians and lower quartiles.
This sequence prevents first impression bias from deciding your hardware choices.
# Metrics that matter more than headline WPM
Raw WPM is useful, but correction overhead defines real output quality. Two setups can post the same speed while producing different finished text.
Track these metrics together:
- Median WPM: your typical session speed.
- Median accuracy: stability under repeated effort.
- Corrected error rate: how much rework you pay.
- P25 WPM: conservative score for reliability.
- Session variance: whether performance swings too much.
A practical composite score for fast decisions:
Composite = (Median WPM × Median Accuracy) − Correction Penalty
You can model correction penalty as corrected errors per 100 words multiplied by a fixed time cost. Keep the formula simple and constant across all test blocks.
If you want deeper context on balancing speed and reliability, these related guides help frame expectations:
- Words Per Minute Test: How to Measure Real Typing Speed That Transfers to Work
- Keyboard Polling Rate for Typing Speed: Does 1000Hz Help?
- Keyboard Debounce Time for Typing Speed: Faster Settings Without Extra Typos
# How to control confounders in keyboard speed testing
Without control, benchmark data drifts for reasons unrelated to keyboard hardware.
Control list:
- Fix typing test mode and duration.
- Use one browser and one network condition.
- Keep chair height and wrist angle stable.
- Use the same keyboard angle and desk mat.
- Warm up with one non scored run.
- Avoid caffeine timing shifts between compared sessions.
If you changed any of these, mark the run so it does not silently pollute your main comparison.
# Interpreting benchmark outcomes without overfitting
Benchmark interpretation should produce a decision you can keep for weeks. You are choosing a setup, not winning a single scorecard.
Use this interpretation rule set:
- Accept an upgrade only when median WPM improves and median accuracy stays level or rises.
- Reject a setup when corrected errors increase enough to reduce net output.
- Require transfer confirmation from at least two real writing blocks.
- Prefer the setup with lower variance when scores are close.
Close calls happen often. If two setups are within one WPM and one has cleaner correction behavior, use the cleaner setup.
For ergonomics and sustained performance context:
- https://www.osha.gov/etools/computer-workstations (opens new window)
- https://www.niehs.nih.gov/health/topics/agents/ergonomics (opens new window)
- https://support.microsoft.com/windows/use-a-keyboard-to-work-around-mouse-and-touchpad-problems-9c9db31f-6254-5107-e6f3-ef5e6ea7d033 (opens new window)
# Example seven day keyboard speed test benchmark plan
This plan balances enough data with manageable effort.
# Day 1 to Day 2
Capture baseline on your current keyboard. Run three scored tests per day plus one writing block.
# Day 3
Switch hardware and run adaptation only. No scored conclusions.
# Day 4 to Day 6
Collect scored runs on the candidate keyboard using the same schedule.
# Day 7
Run an A B validation day with both keyboards in alternating order. Use one final writing block per setup.
At the end of Day 7, calculate medians and correction penalty for each setup. Keep the winner for a two week production trial.
# What to do after choosing a winning setup
Hardware choice solves only part of typing performance. Keep a weekly checkpoint so gains persist.
- Run one short benchmark session each week.
- Watch for drift in corrected errors.
- Re test only one variable at a time when tuning firmware.
- Keep notes on fatigue and comfort to catch hidden costs.
If scores flatten, revisit technique before changing hardware again. A stable benchmark log will show whether the plateau comes from practice, setup, or schedule.
# Quick benchmark FAQ
# How many runs are enough for a useful keyboard speed test?
For a simple A versus B hardware check, 12 to 18 scored runs per setup usually gives enough signal to compare medians. Fewer runs can work for large differences, but close results need more samples. If your median difference is under 2 WPM, add another two days of data before making a final decision.
# Should I test with random words or full sentences?
Use the format closest to your actual work. If you write documentation, code comments, emails, or reports, sentence based tests and punctuation heavy passages transfer better than random word lists. Random lists can still be useful for short controlled checks, but they tend to underestimate correction cost in real writing.
# Can one keyboard be better for speed but worse for long sessions?
Yes. A setup can raise short run speed while increasing finger fatigue or correction load after twenty minutes. That is why a benchmark should include at least one real writing block per day. The final choice should maximize finished output quality over a full session, not only sprint performance.
# How often should I re benchmark after tuning settings?
Re benchmark only when a meaningful variable changes, such as switch type, debounce value, keycap profile, or keyboard angle. For routine monitoring, one weekly checkpoint session is enough. Frequent full benchmarks with no setup change add noise and waste practice time.
# Final takeaway
A keyboard speed test benchmark works when it measures repeatable output, not isolated peaks. Use controlled sessions, median centered scoring, and transfer checks in real writing. With that structure, keyboard decisions become straightforward, and your typing gains remain durable beyond the test page.